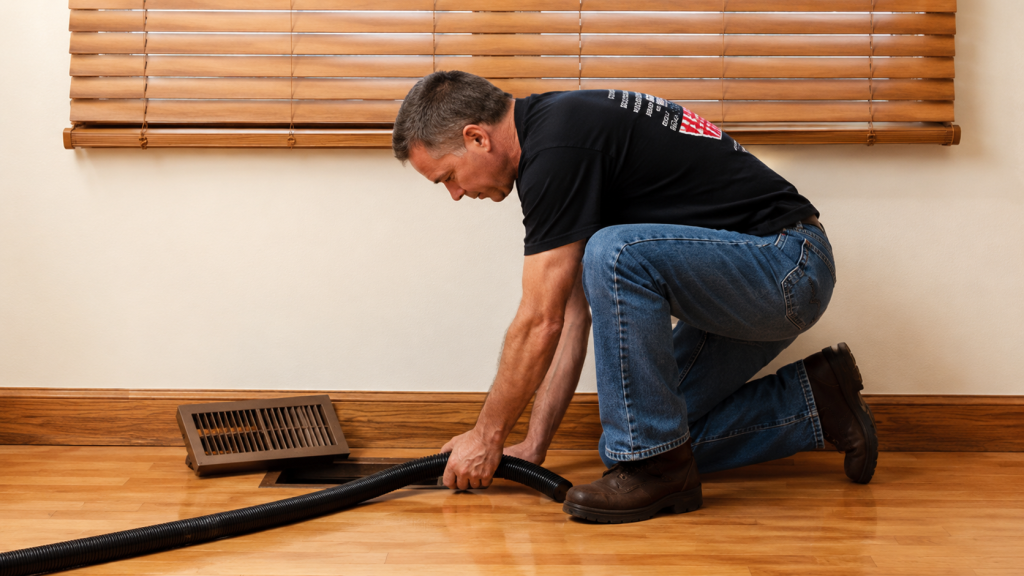


Replacing a dryer vent hose may feel like a small task, but it plays a big role in how your dryer works every day. A damaged or poorly installed vent hose can slow drying, trap lint, and create safety risks inside your home. When airflow is blocked, your dryer has to work harder, which leads to higher energy use and more wear on the machine.
Learning how to replace dryer vent hose the right way helps keep air moving freely and lint flowing out as it should. It also helps reduce heat buildup behind the dryer and keeps moisture from staying trapped indoors. This is one of those home fixes that makes an immediate difference once it’s done correctly.
This guide breaks the process down into clear and simple steps. You’ll learn what to look for, what materials work best, and how to install the hose without common mistakes. Everything is explained in plain language so you can move through the job with confidence and keep your dryer running safely and efficiently.
Why Replacing a Dryer Vent Hose Is Important?
Replacing a dryer vent hose is important because it directly affects how safely and efficiently your dryer runs. When the hose is old, crushed, or damaged, hot air and lint cannot move out properly. This causes longer drying times and puts extra strain on the dryer. Over time, this stress can lead to breakdowns and higher energy bills.
A worn-out vent hose also increases the risk of lint buildup. Lint is highly flammable, and poor airflow allows it to collect inside the hose and behind the dryer. This creates a serious fire hazard that many homeowners overlook. Proper venting helps heat escape the right way and keeps lint from settling where it shouldn’t.
Replacing the hose also helps control moisture in your home. When warm air cannot exit properly, moisture can leak into walls or laundry areas. This can lead to mold, odors, and poor indoor air quality. A properly installed dryer vent hose keeps your home safer, drier, and more comfortable.
What Type of Dryer Vent Hose Should You Use?
When it comes to what type of dryer vent hose you should use, picking the right one makes a big difference in safety and performance.
First, avoid plastic and thin foil hoses. They may seem easy to bend and cheap, but they can trap lint, crush easily, and increase fire risk. These materials also don’t handle heat well and wear out fast.
The best choice is a rigid or semi-rigid metal vent hose. These are usually made of aluminum or stainless steel. They stay open, which helps air flow out smoothly. Better airflow means your dryer works faster and stays cooler.
Here’s a simple way to think about it:
- Rigid metal hose: Strongest, longest-lasting, best airflow. Great if you have room behind the dryer.
- Semi-rigid metal hose: Flexible enough to fit tighter spaces but still much safer than plastic or foil.
How to Replace a Dryer Vent Hose
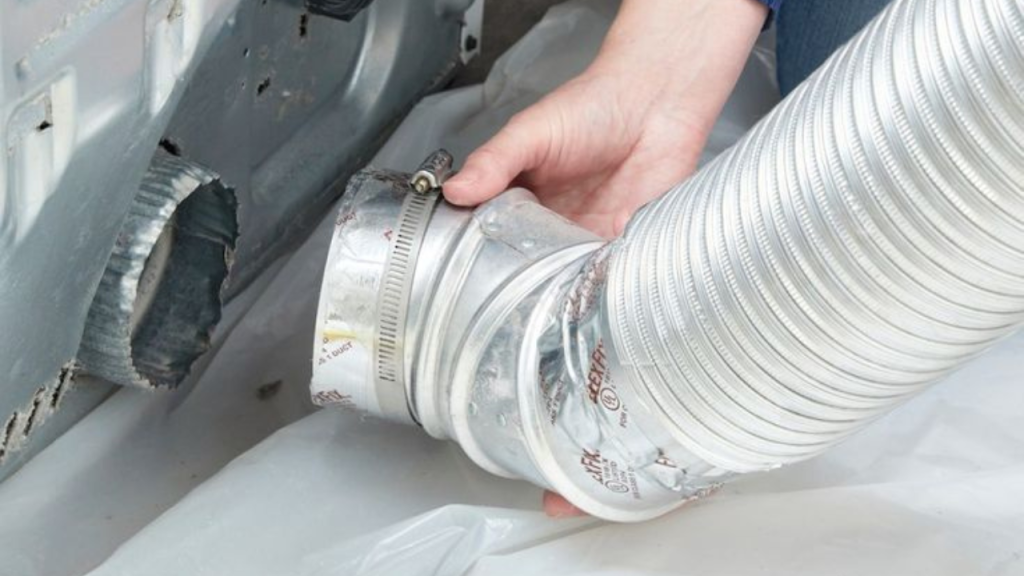
Before you start replacing the vent hose, it’s important to prepare the area and understand what you’re about to do. This process does not require advanced tools, but it does require care and attention. Working slowly helps prevent damage to the dryer, the wall vent, or the new hose. Make sure you have the right replacement hose, proper clamps or foil tape, and enough space to move the dryer safely. Replacing the hose correctly allows air and lint to flow out without blockage, which improves drying performance and reduces safety risks. Once everything is ready, you can follow the steps below to complete the job smoothly and correctly.
Here’s how you can do it:
Turn Off and Unplug the Dryer
Start by turning the dryer off and unplugging it from the power outlet. If you have a gas dryer, also shut off the gas supply. This keeps you safe while working behind the unit and prevents accidents. Let the dryer cool down fully before moving it.
Pull the Dryer Away From the Wall Safely
Gently slide the dryer away from the wall. Move it slowly so you don’t damage the floor or strain the vent connection. Give yourself enough space to clearly see the vent hose and work comfortably.
Disconnect and Remove the Old Vent Hose
Loosen the clamp or foil tape holding the old hose in place. Carefully pull the hose off the dryer and wall vent. If it is torn, crushed, or full of lint, discard it properly.
Clean the Vent Outlet and Wall Duct
Before installing the new hose, clean both vent openings. Remove lint buildup using a brush or vacuum. This step improves airflow and helps prevent future fire risks.
Attach the New Dryer Vent Hose
Connect one end of the new hose to the dryer outlet and the other end to the wall duct. Make sure the hose fits snugly and stays as straight as possible for better airflow.
Secure Connections With Clamps or Foil Tape
Use metal clamps or UL-listed foil tape to secure the hose tightly. Avoid regular duct tape, as it dries out and fails over time. Strong connections prevent air leaks and lint escape.
Push Dryer Back Without Crushing the Hose
Slowly move the dryer back into place. Watch the hose closely to make sure it doesn’t bend, kink, or flatten. Proper spacing helps the vent work efficiently.
Test Airflow and Dryer Operation
Plug the dryer back in and turn it on. Check that warm air flows outside properly and listen for unusual sounds. Strong airflow confirms the hose is installed correctly and safely.
Do you want help replacing the hose of your dryer vent?
Do you want help replacing the hose of your dryer vent? This is one of those jobs that looks simple but can quickly turn into a problem if the hose is crushed, poorly connected, or not venting correctly. A small mistake can lead to poor airflow, higher energy bills, and safety risks inside your home.
AAA Air Duct Cleaning is here to make sure the job is done the right way. Our team handles dryer vent hose replacement with a focus on proper airflow, safe materials, and clean connections. We inspect the full vent path, remove built-up lint, and install the hose correctly so your dryer runs efficiently and safely. If you want peace of mind and professional results, our experts are ready to help keep your home protected and your dryer working at its best.